Beginner’s Guide to Dialing In Espresso at Home

If you’ve just bought your first espresso machine and grinder, welcome to the most rewarding (and occasionally frustrating) part of home coffee: dialing in your espresso. It’s the process of fine-tuning your grind size, dose, yield, and time to consistently pull shots that taste rich, balanced, and delicious.
This guide will walk you through everything you need to know to start dialing in like a pro.
What Does “Dialing In” Mean?
Dialing in is the process of adjusting variables to get your espresso to taste the way you want it. Even small changes to grind size or dose can dramatically affect your results. Think of it as recipe testing for espresso.
The core variables include:
- Grind size
- Dose (how much coffee you use)
- Yield (how much espresso you brew)
- Time (how long the shot takes)

Step 1: Start With a Baseline Recipe

Before adjusting anything, pick a starting point. A solid beginner recipe:
- 18g in / 36g out
- Time: 25–30 seconds
Use a scale and timer for accuracy. If your machine doesn’t have built-in scales, a simple digital scale will do.
Recommended product: LUCCA Precision Scale
Step 2: Taste and Evaluate
Pull your first shot and taste it. Ignore crema, color, and flow for now—what matters is flavor. Ask yourself:
- Does it taste sour or sharp?
- Does it taste bitter, burnt, or dry?
- Does it taste flat or thin?
Step 3: Adjust Based on Flavor
If your shot tastes sour:
- Your grind is probably too coarse.
- Try grinding finer to slow the flow and extract more sweetness.
If your shot tastes bitter:
- Your grind is likely too fine.
- Try grinding coarser to reduce over-extraction.
If it tastes thin or weak:
- Check your dose and yield. You may be under-dosing or over-extracting.
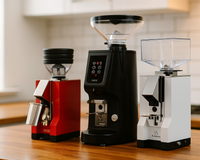
Recommended product: Eureka Mignon Specialita Espresso Grinder
Step 4: Control Your Variables

Dialing in becomes easier when you adjust one variable at a time.
- Only change grind size first
- Keep dose, yield, and temp consistent
- Always measure your inputs and outputs
Over time, you’ll develop a feel for how adjustments impact flavor.
Step 5: Keep a Log
Use a notebook or app to log:
- Date
- Beans used
- Dose
- Yield
- Time
- Grind setting
- Taste notes
This will help you track progress and avoid repeating mistakes.

Step 6: Use Fresh, High-Quality Beans

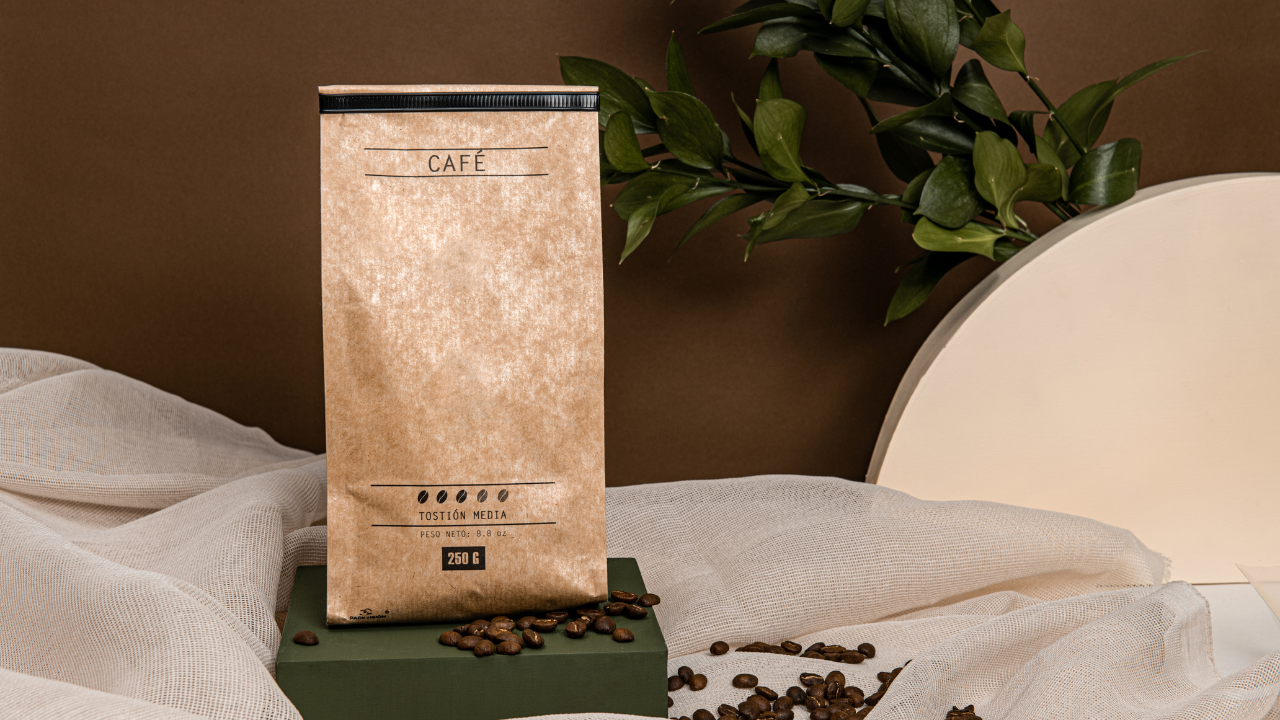
Even the best technique won’t save you from old, stale, or poorly roasted beans. Buy freshly roasted coffee from reputable roasters. Use beans within 3–4 weeks of roast date for best results.
Shop our favorite roaster - Onyx Coffee
Step 7: Don't Chase Perfection
Even professional baristas pull shots that aren't perfect. Focus on getting close to your preferred flavor, and enjoy the process.
Dialing in takes practice. Trust your palate, adjust slowly, and take notes. You'll get better with every shot.
Need help choosing the right grinder or machine? Check out our curated collections at Cliff & Pebble or reach out—we’re happy to help.
Related Reads:
- Why Is My Espresso Bitter? Common Mistakes and Fixes
- Our Favorite Espresso Grinders Under $500
- Open Box vs. New: When It’s Worth Saving 20%


